My spent a lot of time researching methods to grow them, and bought tried sorts of containers, including sieves, sprouting jars and teapots. However, ithad a high rate of failure. Everyday I would see her trying to grow those sprouts. I could not imagine that a person could spend so much time trying to grow. But persistence is a virtue, and she finally succeeded. And when she did, she has had a 100% success rate.
Recently, at a supermarket, we saw sprouts that were missing not only embryos, but also the root. I have no idea what was put in there! I thought I'd quickly share this method!
You will need the following materials:
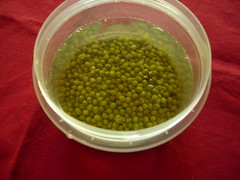
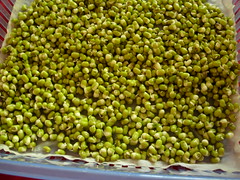
1. 1/2 c. whole mung beans
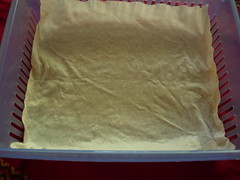
2. 2 pieces of non-woven cloth
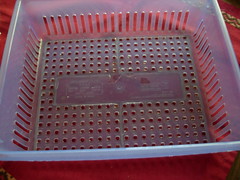
3. a sieve
4. some additional cloth
Directions
1. Sort through the beans and pick out any small stones or bad mung bean.
2. Soak the beans about 8 hours.
3. Prepare a clean sieve.
4. Place a piece of non-woven cloth on sieve
5. Place the drained beans on non-woven cloth.
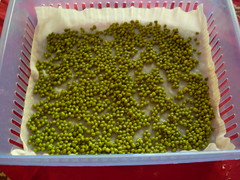
6. Cover with another non-woven cloth.
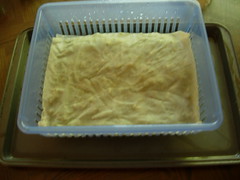
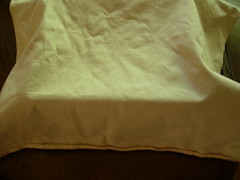
7. Add the additional cloth to avoid sunlight.
8. Remove the cover cloth, water and drain mung bean three times every day. When you drain each time, be sure to replace the cover.
(Day 2)
(Day 3; sprouts grow slowly in Northern California due to the weather)
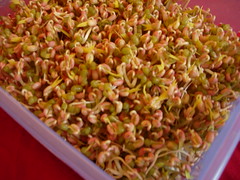
9. After about five days, most of the green skins will fall off. Almost all of green skins will wash away. It's fine if a few are left behind, they are good to your body..
(Day 5)

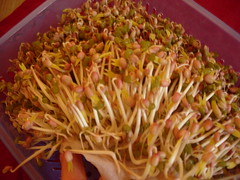
(Finished product)
Tips
1. In warmer weather, they can be grown in three to four days. In colder areas, it takes up to a week.
2. You can use any type of sieve you need. Because you will need to drian the extra water, you should put the sieve on a rack. Otherwise, the sprouts will rot.
3. Most people put the beans in a closet, where there is no sunlight. Since it's easy to forget to water in the closet, we use a cloth to block the sunlight without having the put the beans in a dark place.
4. To make fatter sprouts, use a cloth to weigh on the beans. Although long and slender, they have their own texture.
5. For homegrown sprouts, they can last up to a week if placed in a refrigerator. For store-bought ones, they generate a weird smell after the second day.
Thanks for sharing these tips. I just finished my first mung bean sprouting experiment using a glass jar. It took about 2 weeks to grow them up to the desirable length probably due to the weather in Atlantic Canada is too "cold". I will try your method to see whether it yields better result - sounds promising. Have to get a sieve like yours first. Can you advise what type of non-woven cloth you use and where to buy it? Thanks.
ReplyDeleteThanks for your comment. My mother has had a lot of success with this method, considering that we get to eat homegrown bean sprouts about three times a week!
ReplyDeleteIf you're having trouble finding non-woven cloth, try using coffee filters instead. However, the downside is that they don't let as much air through; this means the roots will be longer, and the textures won't be quite as good. Of course, you can still trim the roots if you wish.
Good luck!